|
|
Telepresence robot BotEyes-Mini differences
Telepresence robot BotEyes-Mini users can use the same instruction as for BotEyes-Pad, below we give only the differences. BotEyes-Mini use CamHi application for camera control. It is well-known application, so you can find a lot of Youtube videos about it, using keywords "camhi setup". After installing camera tilt it down by hand to see the robot chassis.
Attention! BotEyes-Mini is best fitted for using with desktop computer, because it uses two application: CamHi (HiP2P) and web browser on the same screen. But you can use it on tablet or smartphone too if you will use Split Screen mode, as it was described in paragraph "Using Skype". To use BotEyes-mini you need two independent applications: one for tablet camera and another for robot movement control. Therefore, robot control is possible only on those iOS-devices that allow opening and seeing two applications simultaneously. This mode in iOS is named "Split View" and available on iPAD only starting from OS9 version, in model iPad Pro, iPad Mini 4 and iPad Air 2.
So, below we assume that you have iOS9 or above and it is installed on iPad.
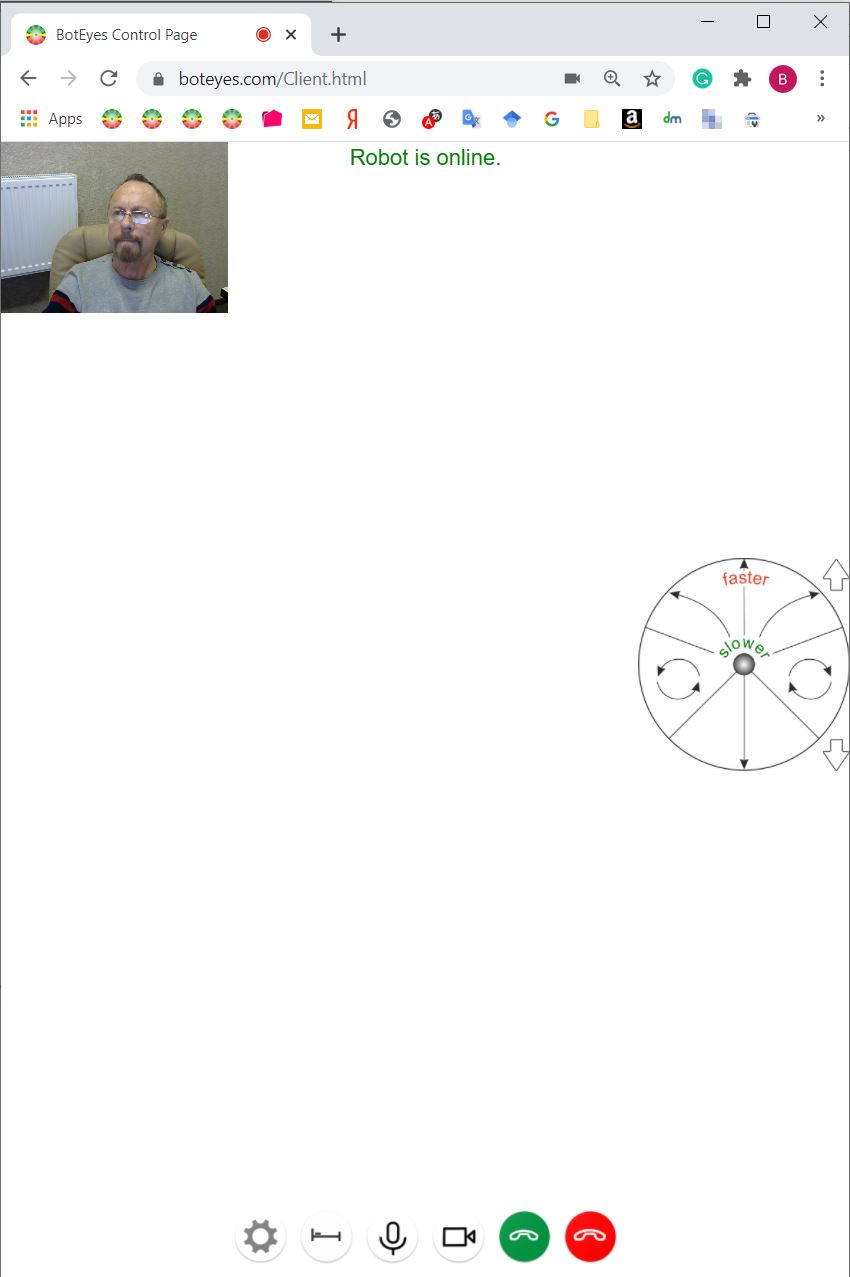
Register and login as it was described above. After login you will see this page
Press "gear" button on the bottom-left of the page and press "Set for BotEyes-Mini" button in "Setting" page.
If you want to refuse BotEyes-Mini settings, click "Reset to Defaults" button.
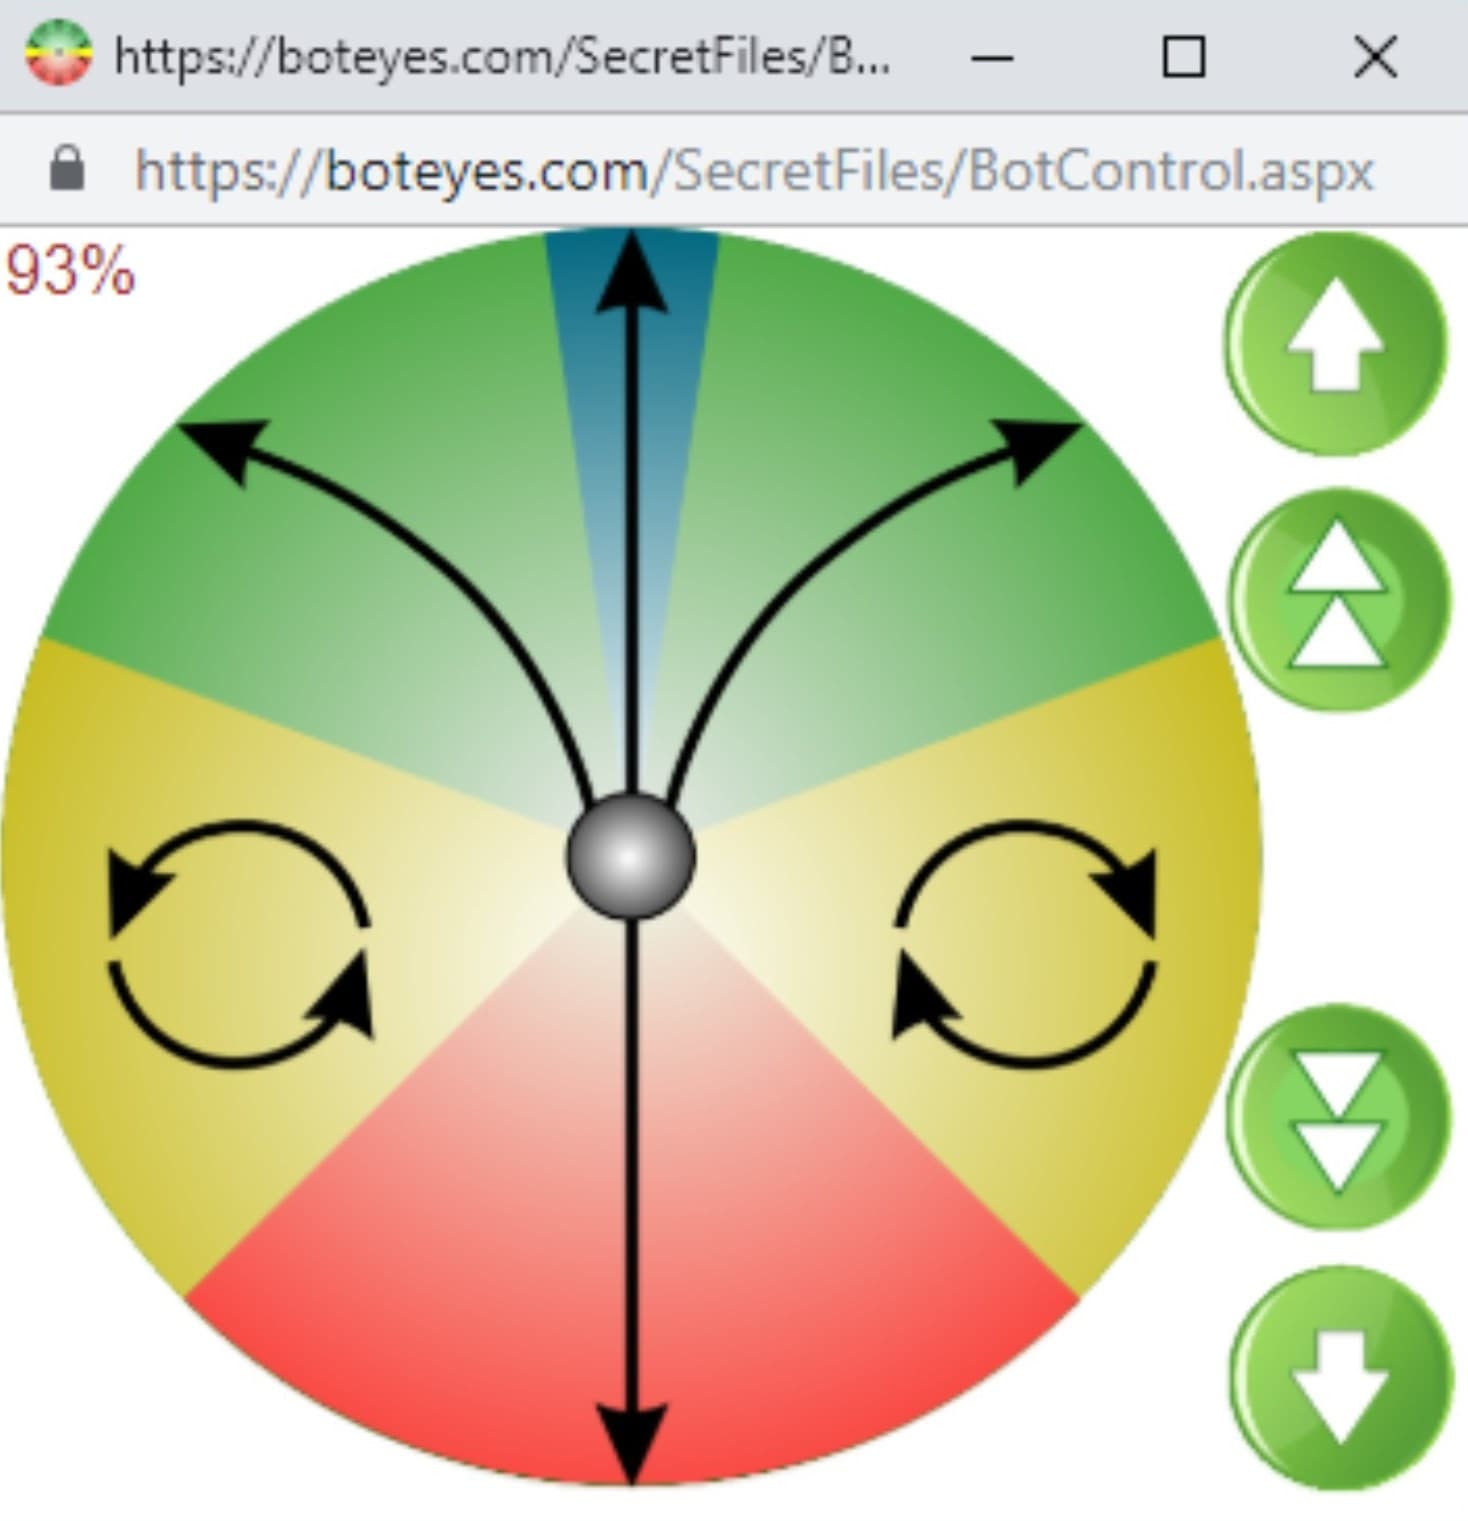
Press "OK, go back" button and login again. Now instead of above you will see small window with telepresence robot control circle:
How to control telepresence robot BotEytes-Mini, see BotEyes-Pad advices.
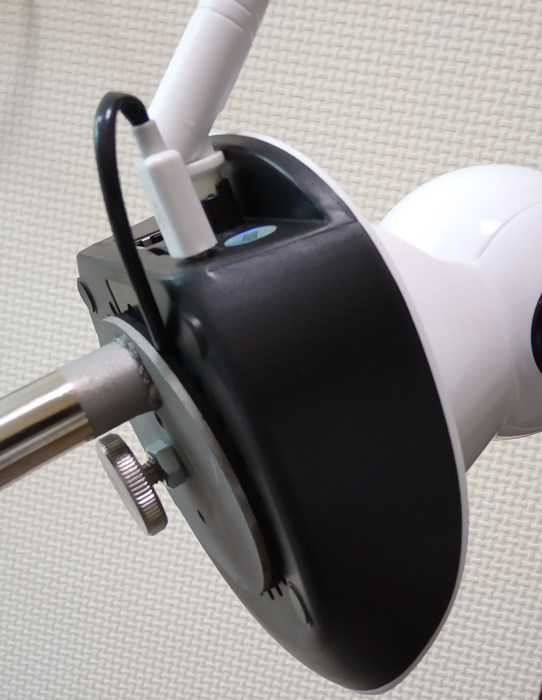
How to transfer a robot: do not take it above the point of connection of the two parts of the neck tube. Take only the lower part.
Robot has standard USB female connector in bottom of robot head. It has standard USB charging voltage 5.25V and data pins connected together. USB charger is in "On" state only when the robot is On. You can charge any tablet using its own charging cable.
This charger is good enough for using your tablet without extra charging as long as you want, but if you need to charge tablet very fast, use native charger supplied from tablet manufacturer. Switch off the tablet screen to speed up charging.
The battery of the robot must be constantly in a charged state. To do this, inside the robot contains a controller programmed to automatically turn off the charger in the case when the batteries are fully charged. Therefore, the robot can never be removed from docking station while it in non-using state.
The charging level is shown on the robot control web page, after touching the control circle, if the robot is not on the dock.
In the case that the batteries are discharged below 10.5V, the robot will shut down automatically. But, if in case of malfunction batteries are discharged below 10V, (the percentage of charge on the robot control disk has become negative), disconnect the robot computer (pull out the micro USB power connector from Raspberry circuit board). Connecting them again will be possible only after about 10 hours, because after a deep discharge, the robot's charger will be in the battery recovery mode.
If you are going to not use the robot for a long time (for example, more than a month), it is better to turn it off.
Below you can see the robot docking station.
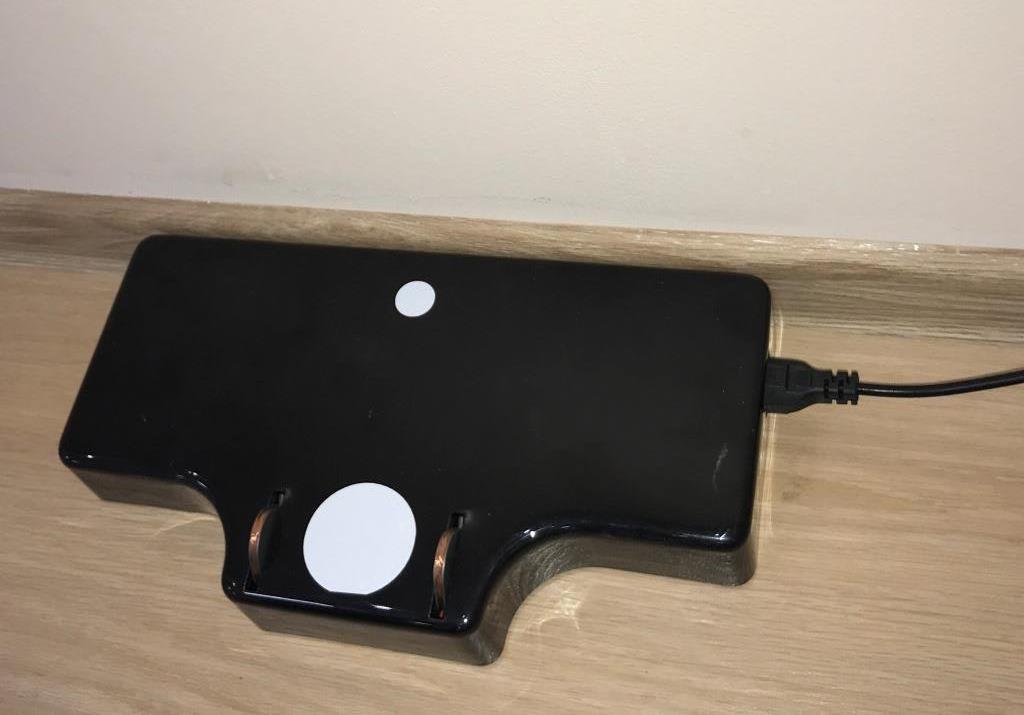
Docking station allows robot to be in ready condition all time. This is convenient if the robot is in a room where there are no people and there is no one to turn it on. It's advisable to drive into the dock at a low speed to soften the robot's impact on the docking station.
When the batteries are depleted, their capacity drops sharply. If the batteries fail or their capacity has fallen to unacceptable values, you need to replace it by similar ones, with a voltage of 12 V and capacity of about 7 Ah, for example, brands Powerman CA1272, Fox NP7-12, CSB GP1272F2 etc. This battery is used as usual in uninterruptable power supply for office computers. The robot's batteries are connected in parallel, so it is important that they are identical in technical characteristics and that the voltages on different batteries differ by no more than 0.3 V.
When choosing a battery for replacement, pay attention to the shape of its terminals to ensure its structural compatibility with the connectors used in the robot.
ATTENTION! Red wire must be connected to "+" terminal of battery, white wire to "-" terminal.
If the robot fails, contact the manufacturer by e-mail.
Repair can consist of replacing individual robot modules, which the consumer can perform on his own. The failed parts of the robot are sent to the consumer by surface mail: during the warranty period it is free of charge, after the its end with payment according to the price list, valid at the time of receipt of the application.
The robot should only be used in accordance with its direct purpose. Do not use the robot as a stroller to carry children or any cargo.
Keep the robot in the manufacturer's box. In its absence, measures must be taken to protect the product from ingress of dust, moisture, condensate, foreign bodies into it. Shelf life of the robot is 10 years.
Transportation of the product is allowed by any means of transport in the manufacturer's package.
The robot does not contain harmful substances and its disposal does not require special measures, except for the disposal of batteries. Batteries after their failure, should be handed over to the nearest point of reception of storage batteries, the address of which can be found on the Internet.